
I’m sure that this comes as old news to some. As a Consultant in Professional Services, you would be surprised to know that the Windows vCenter platform is still alive and kicking in many production environments. (More than what I would expect.)
The vCenter Server Appliance has been out since vSphere 5.5 (2013-ish). VMware has been trying to drop the Windows platform version of vCenter for some time. For the longest time, the component that caused the hold out to drop Windows was the VMware Update Manager (VUM). Now that VUM is fully implemented within the webclient, there should be no reason to expect another version of the Windows vCenter platform. (That is purely my opinion and NOT one from VMware.) Personally, I was surprised to see the vSphere 6.5 release with a Windows platform. So, like me, if you are to believe that this is the expectation, then the writing is on the wall — it is time to switch to the vCenter Server Appliance (vCSA).
In preparation for my rebuild, one of my design decisions was to utilize the VCSA. There were other factors that I had to consider as well.
- 1) Do I follow best practice and have a management vCenter?
- 2) Embedded or external PSC?
- 3) What deployment size do I choose for the appliance?
- 4) Install on Local or Shared Storage?
- 5) 1 or more NICs?
- For me, my answers were:
- 1) No. I would only have a payload vCenter. Since I only had the one host, there was no need to install and configure a management vCenter. If I wind up purchasing a second NUC, then I may consider installing and setting up a cluster. For now, installing more than one vCenter was allowing consumption of resources that I didn’t have.
- 2) & 3) Because resources were a premium, I chose embedded and tiny for my deployment type and size. Additionally, I will not be creating anything that will need a multi-site or complex configuration. This vCenter is strictly for managing payload resources for vCloud Director. So nothing fancy to be done here.
- 4) & 5) Initially, I installed and ran with the one built-in NIC that the NUC provides. I also initially had the VCSA vm on shared storage. And initially, this did not become a problem. Over time though, once I started building out vCD and uploading ISOs and OVAs, this became a problem. My recommendation would be to always go with Shared Storage, however, in this case I had to move the VMs to local storage. I also went ahead and purchased a second NIC using the USB Startech NIC that William Lam has recommended on a number of occasions. If I do obtain another NUC, I will be moving back to shared storage. And yes, I will be installing another Star Tech USB NIC.
I would also add that the Star Tech nic was super simple to install. However, if you discover that you run into trouble, read the comments from the page I linked. I found the tip from twuhabro to be something I needed to do.
The installation and configuration of the vCSA has been covered by so many people. Too many in fact. If you are looking for how I installed the vCSA, then use this website. I did. This is the same method I chose to follow during my installation.
VMware also has provided access to a nice Product Walkthrough Repository. This site provides you a nice step-by-step walk through of many of our products for lab installations. I say “lab installations”, because these walk-throughs are simple installs, not something I would spin up for a production environment.
My friend, Steve Flanders put together a small list of gotchas to consider when installing the vCSA 6.5 in your environment. You can check out his list here.
I would be remiss, if I did not mention that you can find a plethora of content online to learn more about vSphere and vCenter. Click here for VMware’s education courses.
 |
TIP JAR Now, let’s talk about vCenter Tips. |
| Passwords: | Today, many people are trying their best to be security conscious and coming up with some off the wall password combinations. Bravo! I commend you! However, while you are trying your best to be security conscious. You also need to know the limitations of what you can and cannot do. During the installation of the vCSA, the maximum size of password you can use Out Of The Box (OOTB) is 20 characters. This can be adjusted to 32, but OOTB you are stuck with 20. My recommendation… use something easy for the install, adjust the size and change afterwards. Additionally, while you can rock special characters in that amazing password of yours, if they aren’t ASCII characters, then you’ll have trouble. Specifically the trouble revolves around the System Admin account (administrator@vsphere.local). You can use this website to double-check your special characters to see if they would be acceptable. |
| Password Policy: | Staying with the password. Once you start setting up your Identity Source, you will notice a password policy configuration screen. By default and OOTB, the password policy will modify the System Admin password in 90 days. This can be adjusted to match your password policies within your company. Personally, I don’t want my System Admin account to be affected by this policy. Additionally, I would rather the Active Directory manage password policies as well, therefore, I would rather disable this. Unfortunately, I cannot. Therefore, I set it to the maximum configuration possible — 9999. Which turns out to be 27.3 Years.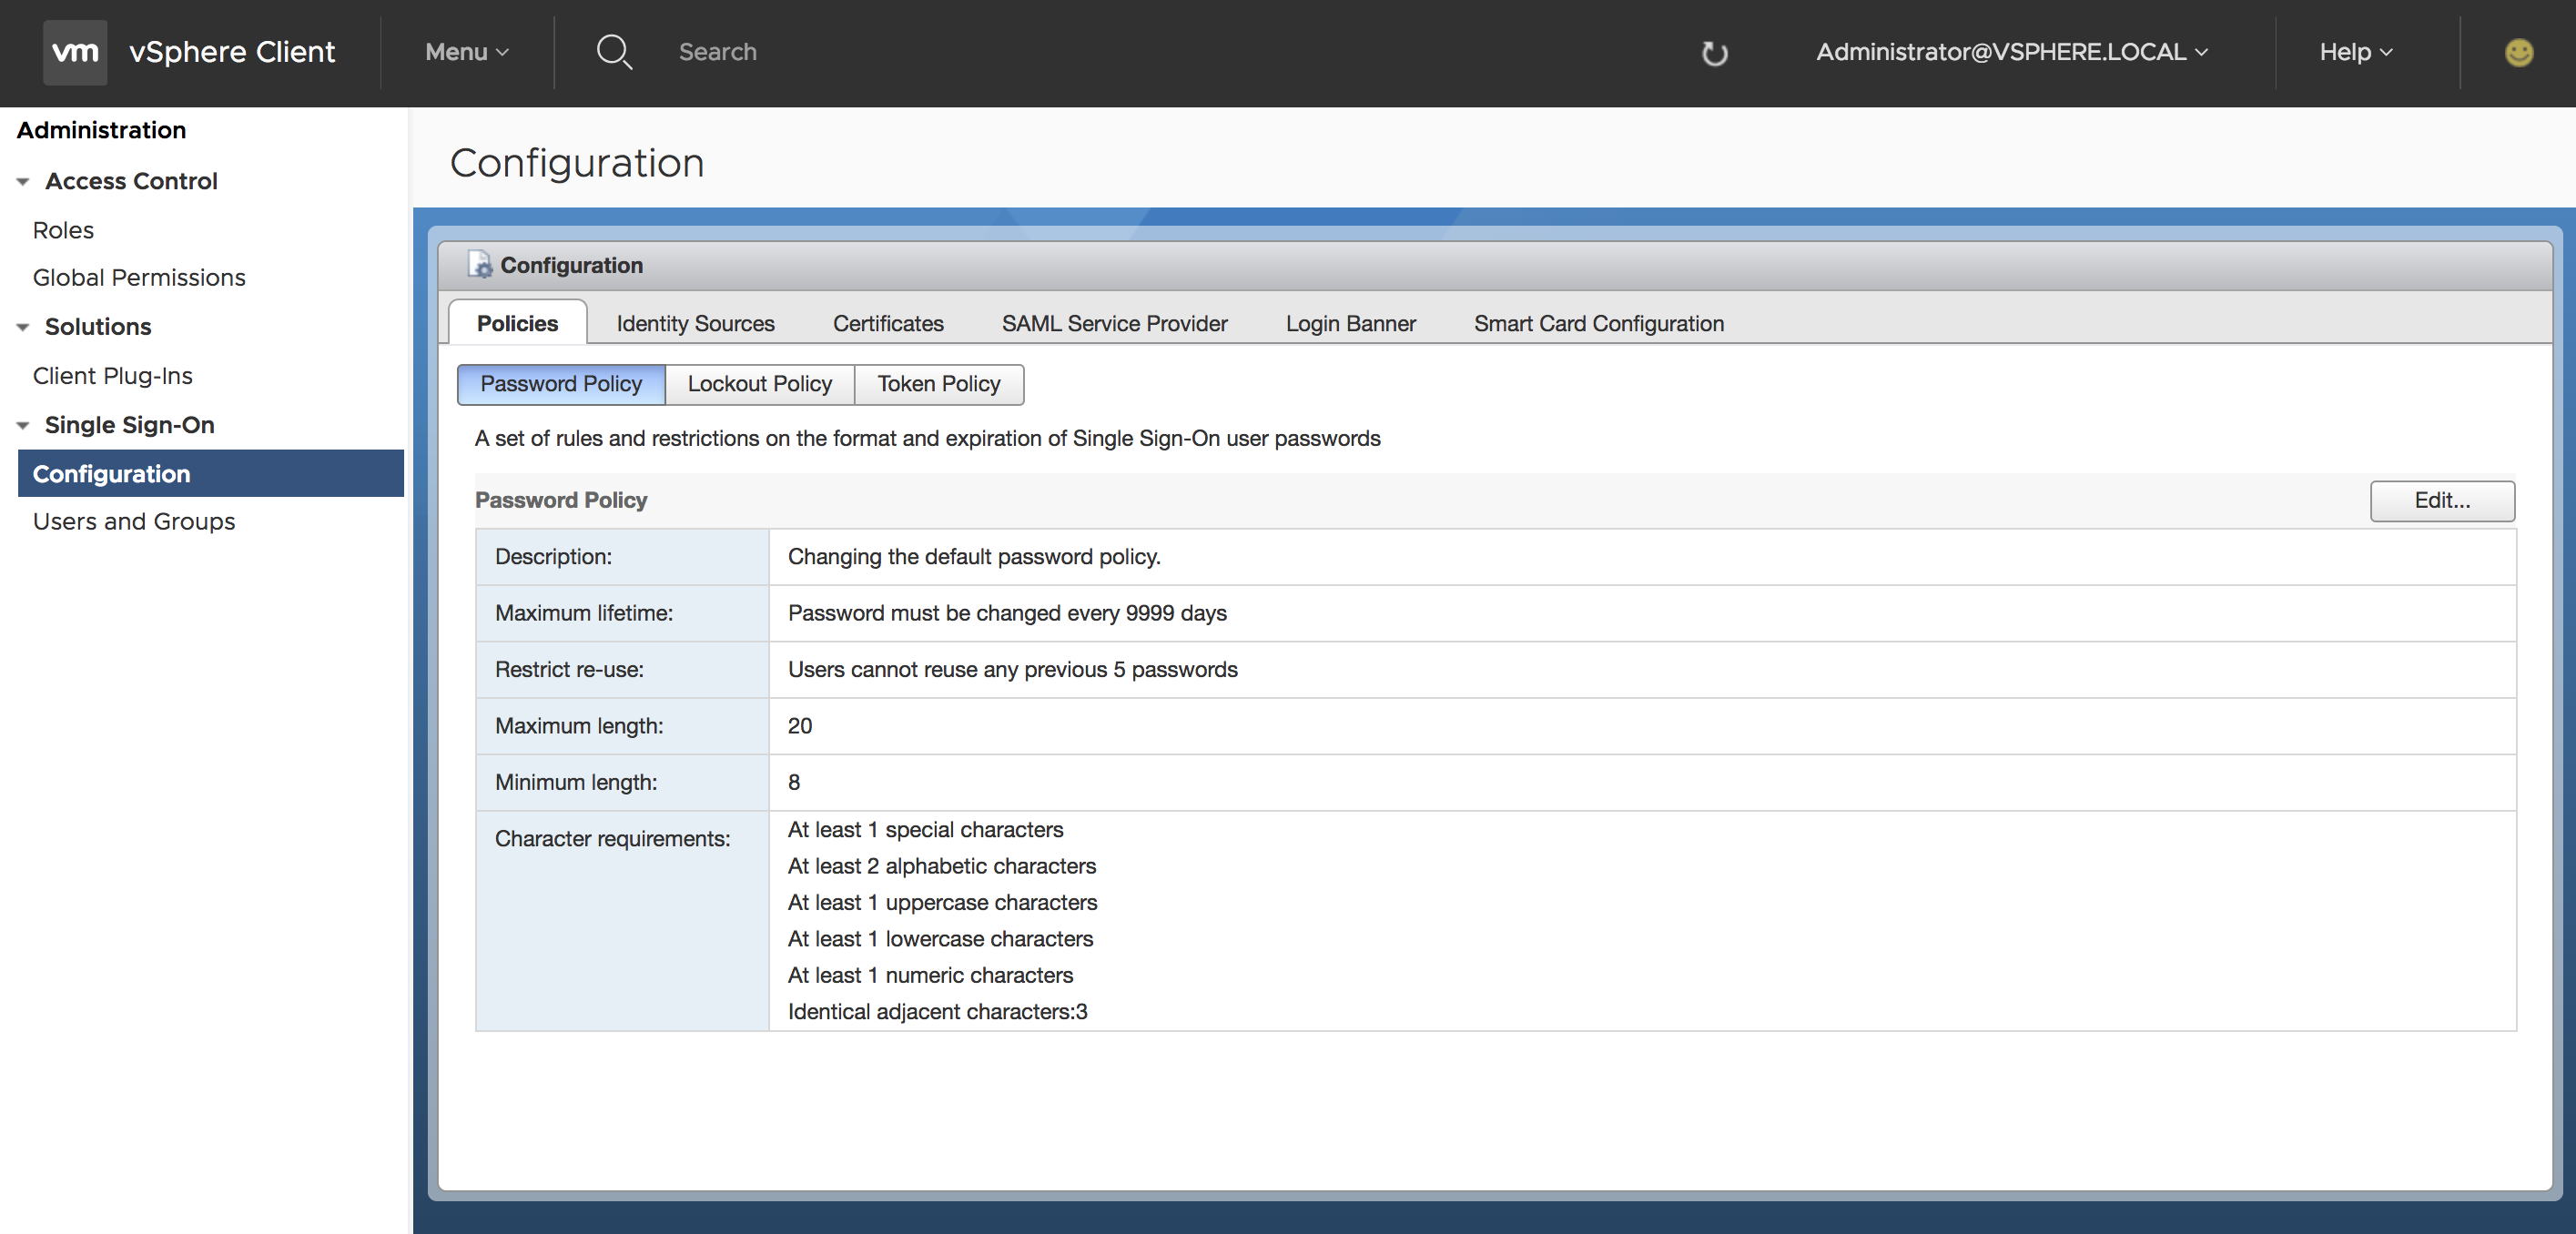 vCSA 6.5 Password Policy |
Again, staying with Password Policies. In the vCSA Virtual Appliance Management Interface (VAMI), the root account has a password policy that is applied out of the box as well. This policy affects the root account in 365 days. Again, my personal opinion is to disable this. If you want to change this, then log into the VAMI as root. Go to Administration (located in the left menus), then under the section Password Expiration Settings select NO for Root Password Expires. Submit and Log out.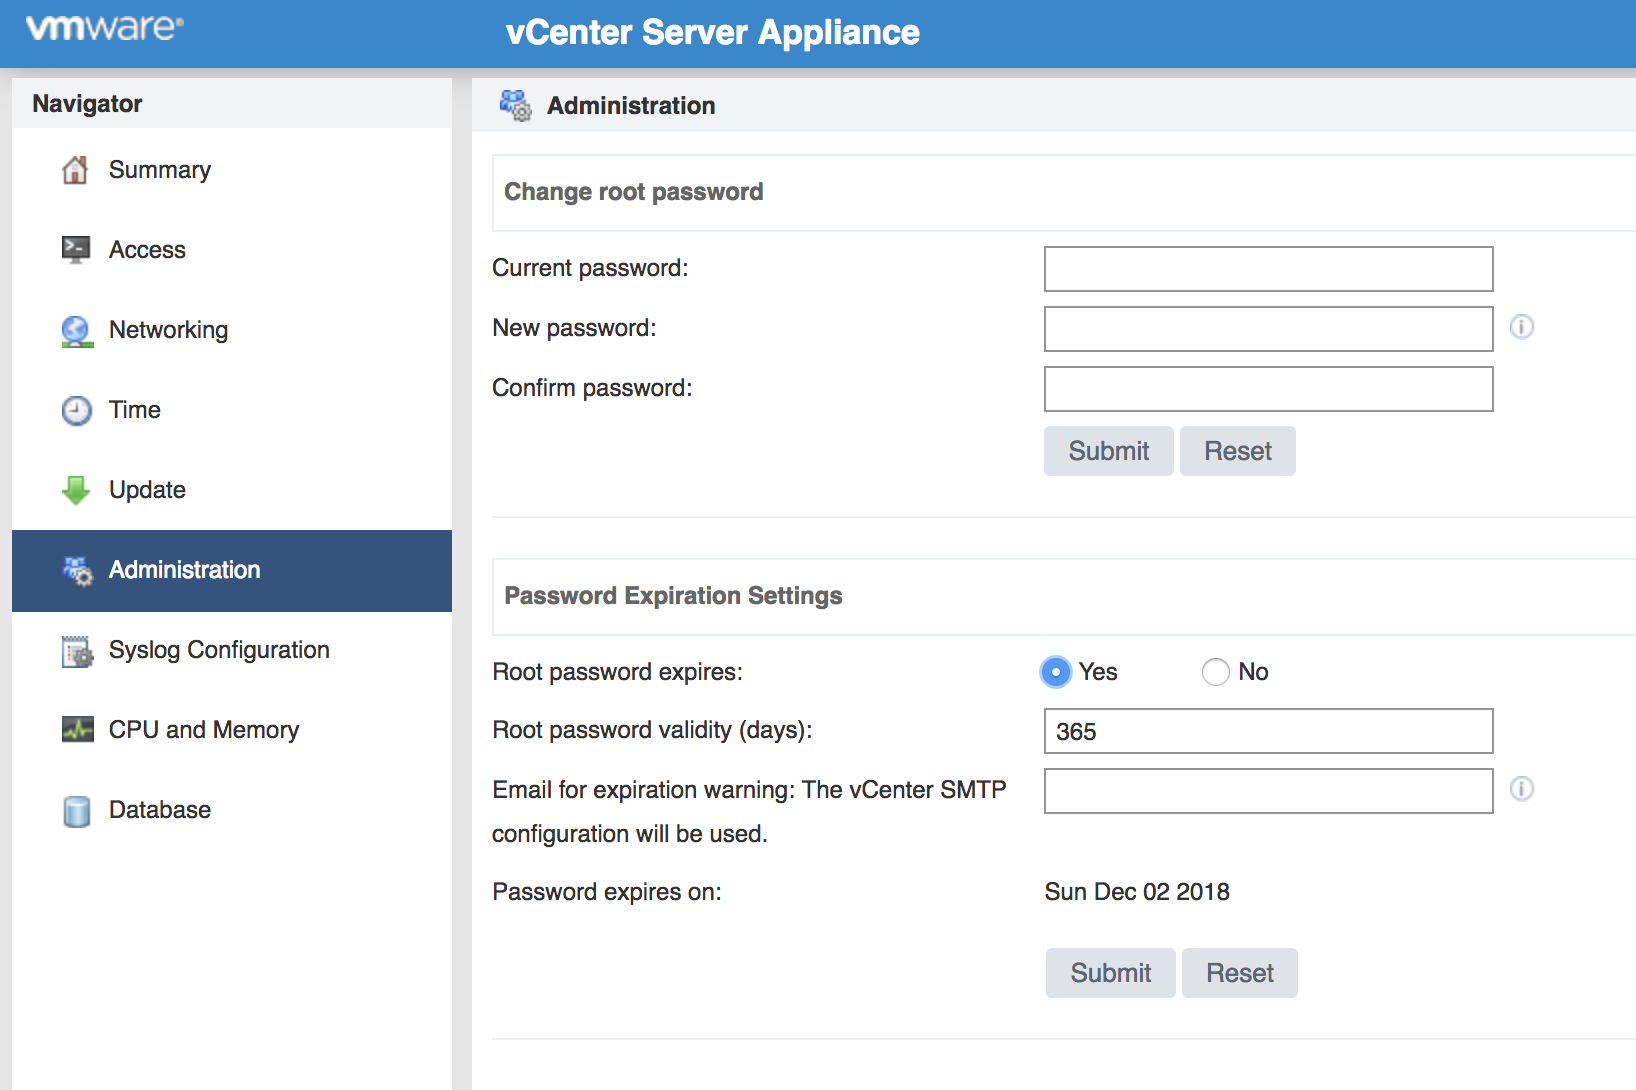 vCSA VAMI Password Policy |
|
| User Account Locked Out: | God forbid that you have run into the issue where the root account got locked out. If you are receiving the error message “User locked out due to failed logins”, then this could be that your password policy has gone into affect. I will admit that in the past, with the first versions of SSO; this was a bitch. But VMware has felt our pain and made it a little easier to get this issue resolved. This KB article can be used to help you get into the vCSA if you have been locked out. |
| Sysprep: | For those of you (like myself) who still need to sysprep some OLD Guest OSes like Windows 2003, then you may need these two links. Sysprep File Locations SCP files to vCSA |
| Start/Stop Services: | Since the vCSA is a Photon based Appliance, I forget all the time how to start and stop services within SSH or CLI. If you are like me, then bookmark this website. Eventually, we will remember how to do it the next time. |
| HA Datastore Heartbeats: | In a production environment, you should not see this warning. However, in smaller labs, this may be more prevalent that you want. vCenter will flash a warning that “The number of heartbeat datastores for host is 1, which is less than required: 2”. I hate this this warning. It’s as bad as the “Suppress SSH” warning. However, you can easily add a setting, and this goes away. Just jump over to this KB article to see how to do it. |
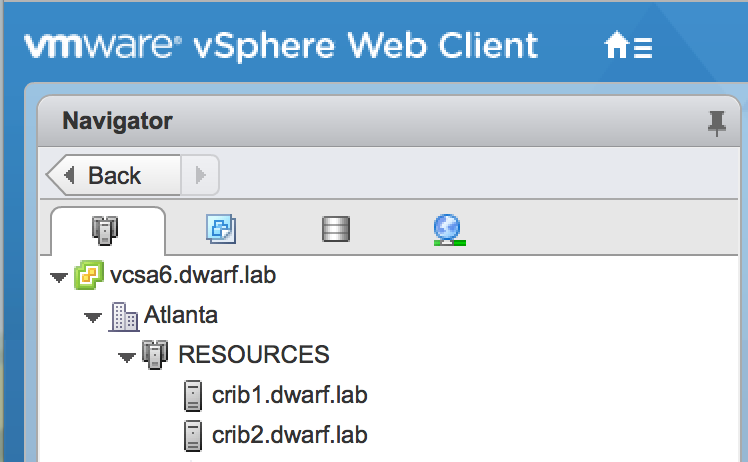
Compute vCSA
My next post will explore the NSX installation for vCloud Director.

The new installer worked great. I used the windows version and ran it from a Win10 VM on my Mac laptop under Fusion. Just right clicked on the VCSA ISO , selected mount, then ran the installer. Provided IP, admin and the usual inputs and about 30 minutes later it was up and running.