
Just this week, VMware released vRealize Automation 7.0.1 (vRA). It contains many bug fixes and some enhancements to the vRA platform. I was excited for it to come out and was anxious to perform an upgrade in my home lab.
I will advise caution and planning in any upgrade of your environment. But I would stress heavily on the planning. You should know your dependencies before you attempt an upgrade, and always. ALWAYS, read the Release notes before you start the upgrade process.
The following process is for a simple vRA instance. This is the Proof Of Concept build, sometimes referred to as a “Lab” or “Sandbox” build. However, these steps can be modified for a fully distributed vRA instance.
Here is how I upgraded my lab.
1) Take snapshots of the vRA Cafe Appliance, IaaS VM, and SQL VM.
2) Shutdown the vRA Services
SSH into the vRA Cafe Appliance and shutdown the vco-server, vcac-server, apache2, and the rabbitmq-server services.
- Run the below commands to stop the above listed services:
- #service vcac-server stop
- #service apache2 stop
- #service rabbitmq-server stop
- #service vco-server stop
You can check that the services have stopped using the status syntax: #service vco-server status
- Log into the IaaS Virtual Machine and stop the below listed vRA services.
- All VMware vCloud Automation Center agents
- All VMware DEM Workers
- VMware DEM Orchestrator
- VMware vCloud Automation Center Manager Service
3) Download the vRealize Automation Appliance 7.0.1 Update Repository Archive ISO.
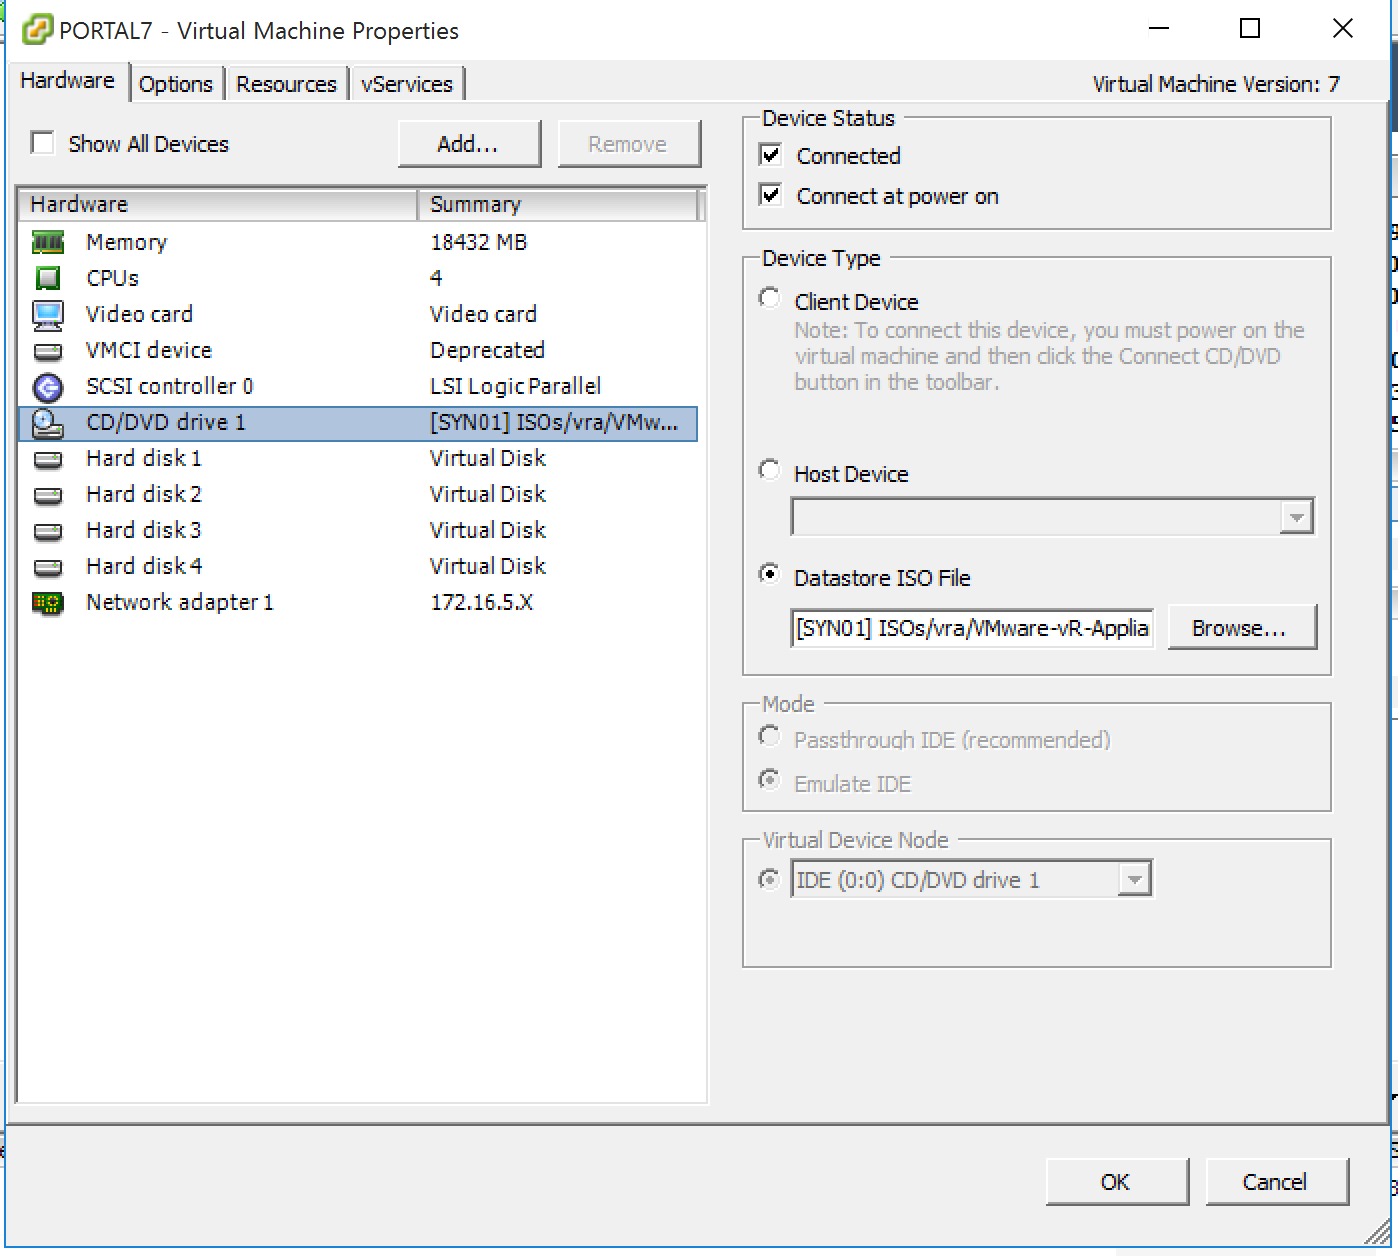
4)Upload the ISO to a datastore, and mount the iso to the vRA Cafe Appliance’s CDRom.
5) Open a browser and log into the vRA Cafe. Then Navigate to the “Update Tab” –>> “Settings”.
6) Change the Update Repository to “Use CDRom Updates”. Click on “Save Settings”.
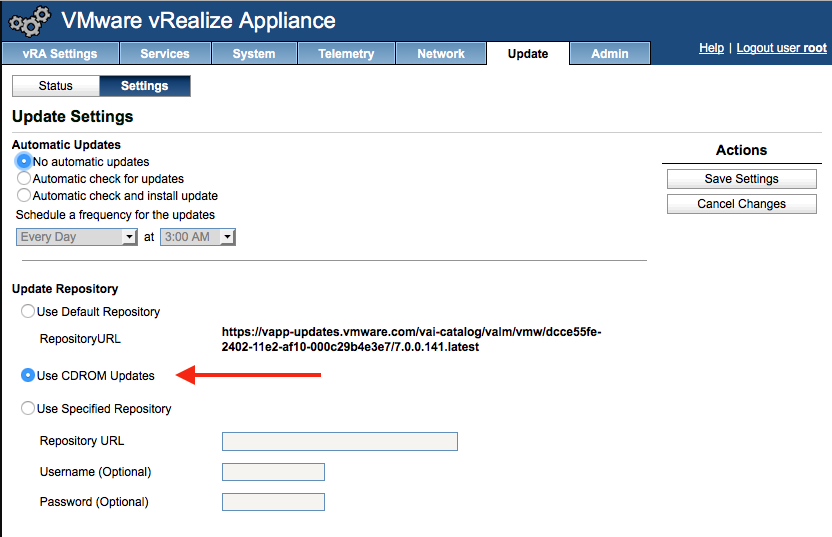
Use CDRom Updates
7) Select the “Status Tab”.
8) Click on “Check For Updates”.
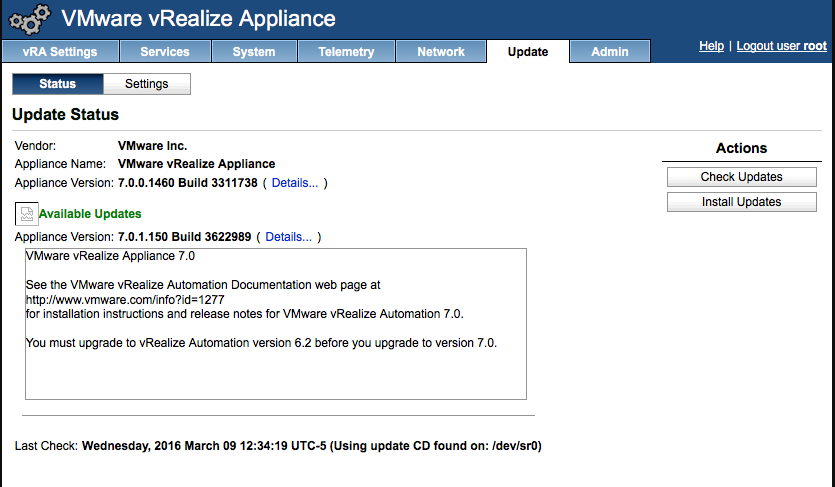
Check For Updates
9) An update should be found (as shown in the photo above). Click on “Install Updates”.
10) Wait for the update to complete. This took approx 30 minutes for my lab.
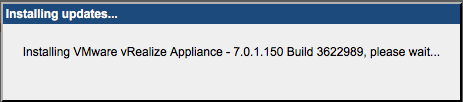
Install Updates
11) Once the updates complete, you will be notified to reboot the vRA Cafe Appliance.
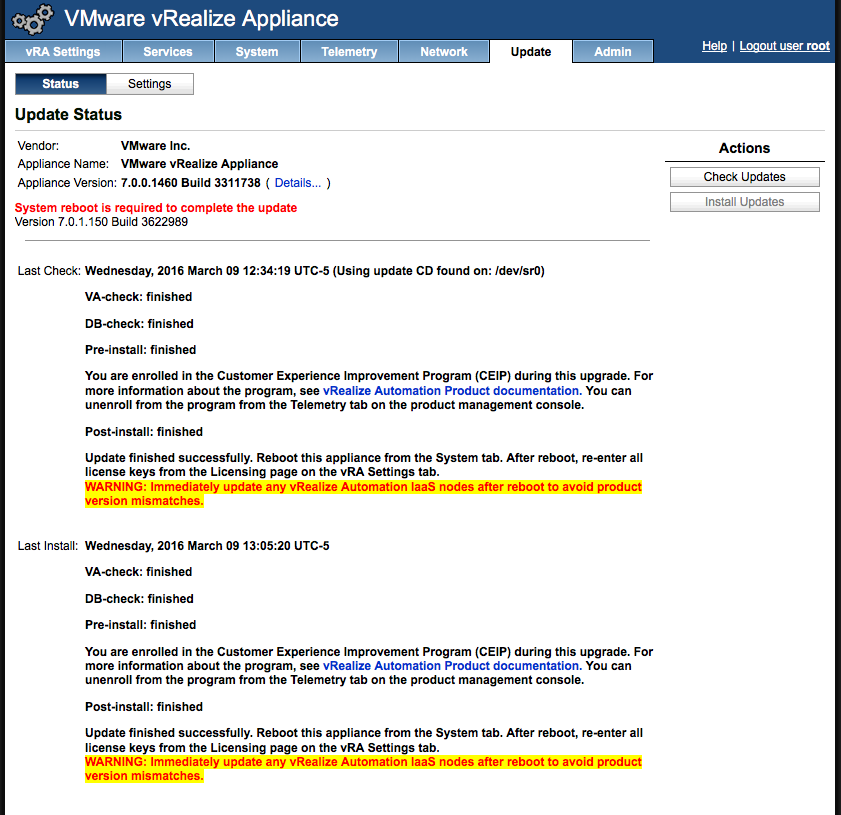
Reboot Notice
12) Once the vRA Cafe Appliance has completed the reboot, log back into the vRA VAMI and verify the version.
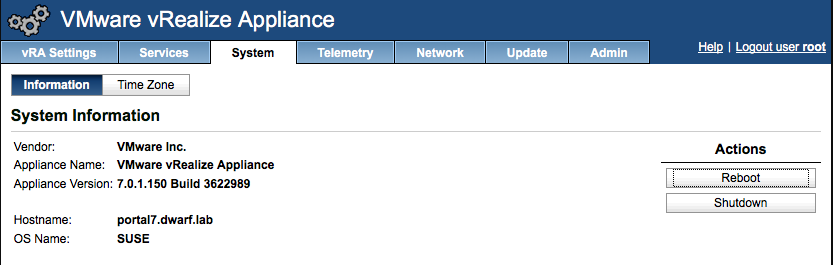
Updated Version
This completes the vRA Cafe Appliance upgrade. Now it is time to focus on the IaaS Server.
13) Open a console or RDP session into the IaaS Server and log into the machine with the vRA Administrator Service Account.
14) Open a web browser and browse to the vRA Cafe Installer page. “https://[vRA Appliance FQDN]:5480/installer”
15) Download the “DBUPGRADE SCRIPTS”.
16) Verify the Java Path in the Environmental variables.

Java Path
17) Open the File Explorer and browse to the folder where you downloaded the “DBUPGRADE.zip” scripts file. Extract the DBUpgrade.zip file.
18) Open an elevated Command Prompt.
19) Change the directory to the location of the DBUpgrade Extraction Folder.
20) NOTE: Verify that the vRA Administrator Service Account has the SQL sysadmin role enabled.
21) Run the following command to update the SQL Database:
# dbupgrade -S sql.dwarf.lab -d vra -E -upgrade
Replace sql.dwarf.lab with the FQDN of your SQL server.
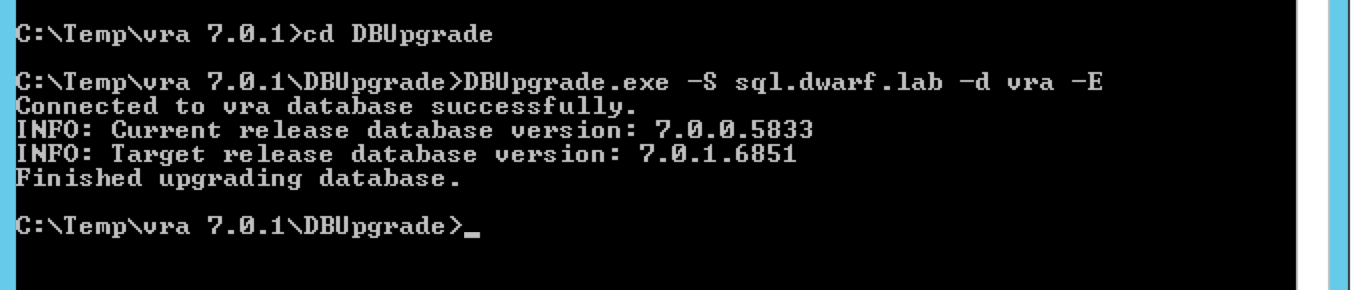
DBUpgrade Script
The process may take a few minutes to complete.
22) Return to the vRA Cafe Installer page. “https://[vRA Appliance FQDN]:5480/installer”. Download “IaaS_Setup”.
23) Browse to the downloaded file in File Explorer. Right-Click the file, and “Run as Administrator”.
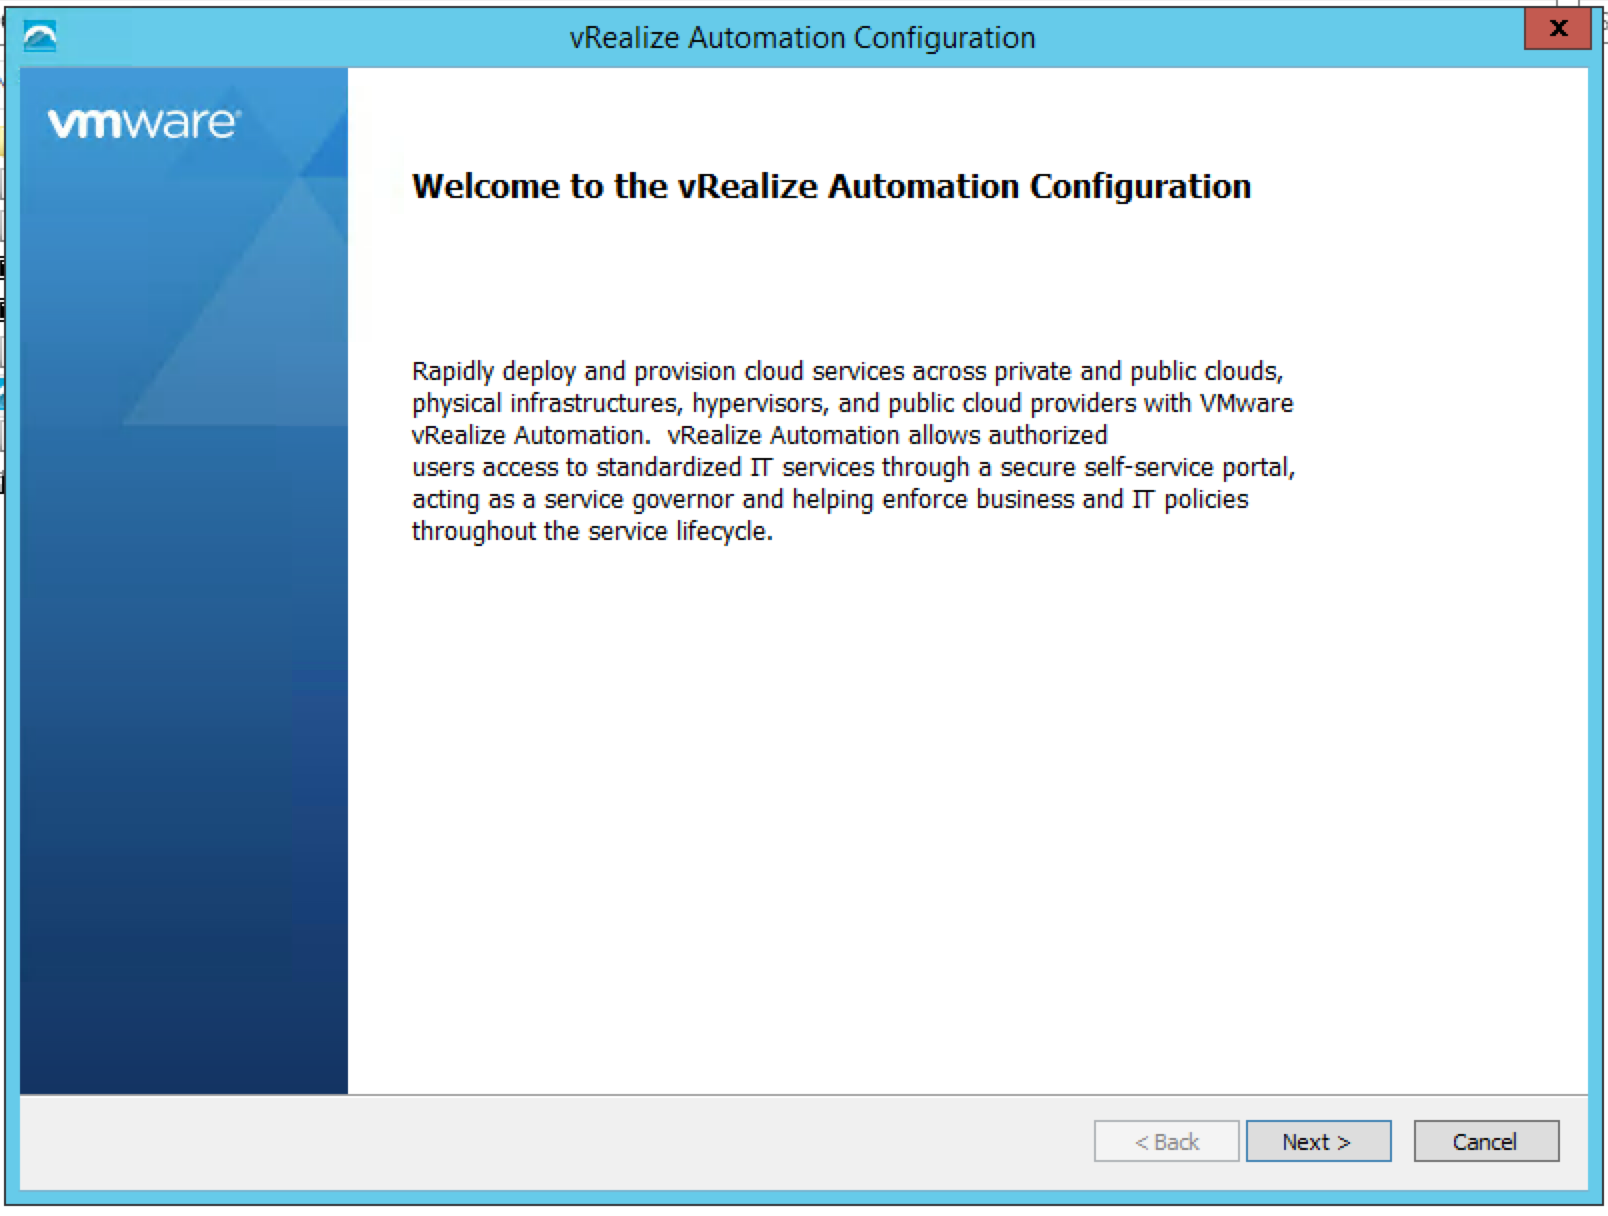
vRA 7.0.1 IaaS Installation – 1
vRA 7.0.1 IaaS Installation – 2
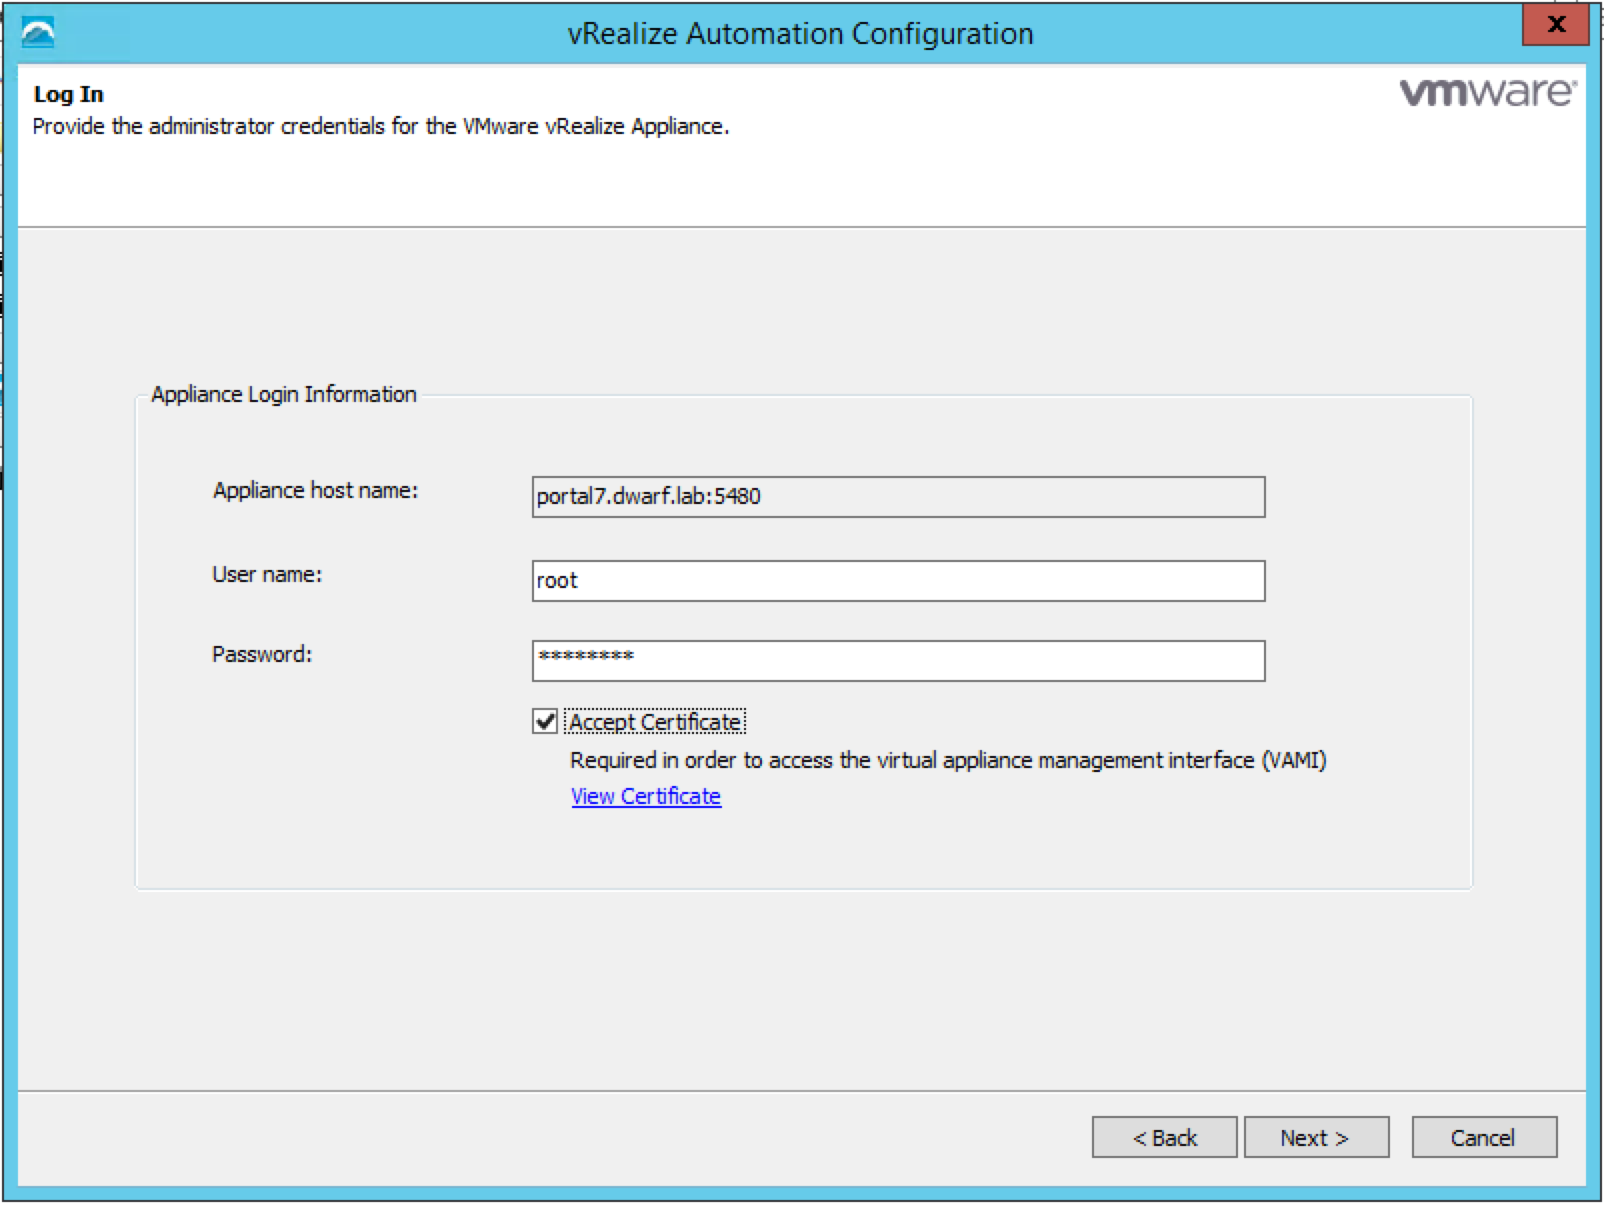
vRA 7.0.1 IaaS Installation – 3
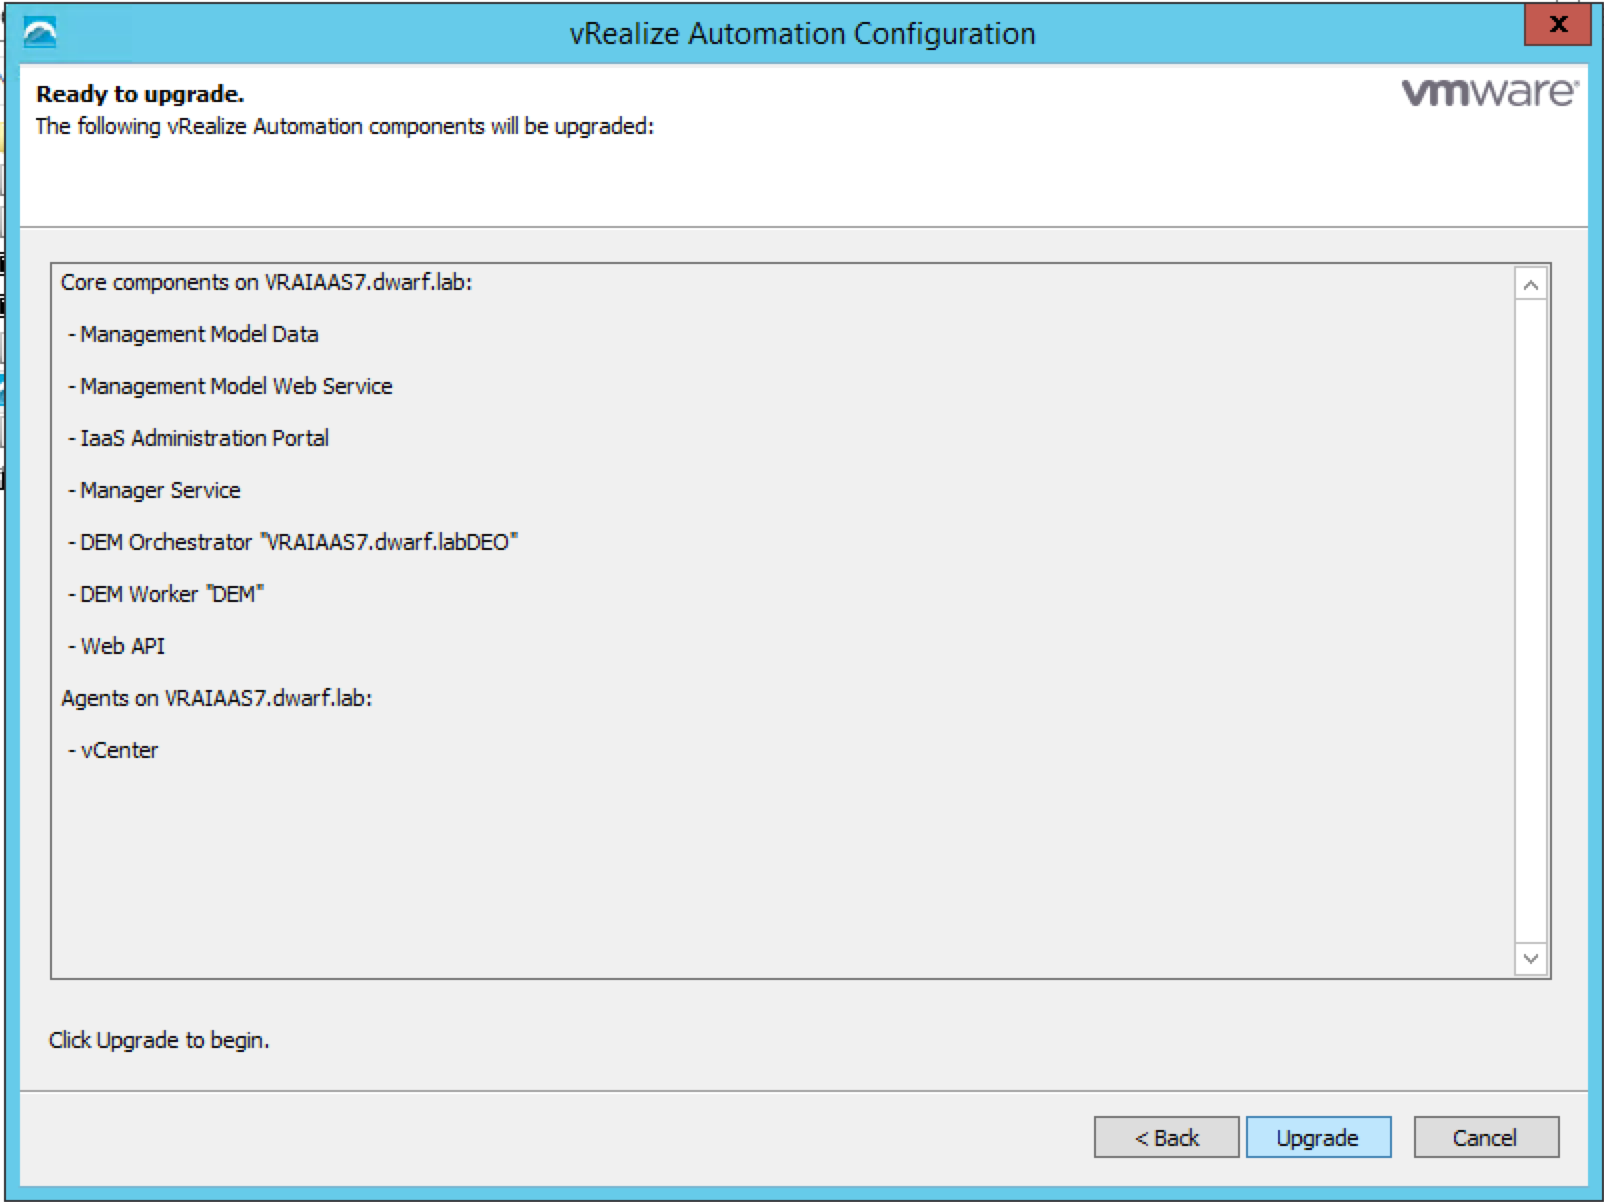
24) Select “Upgrade”
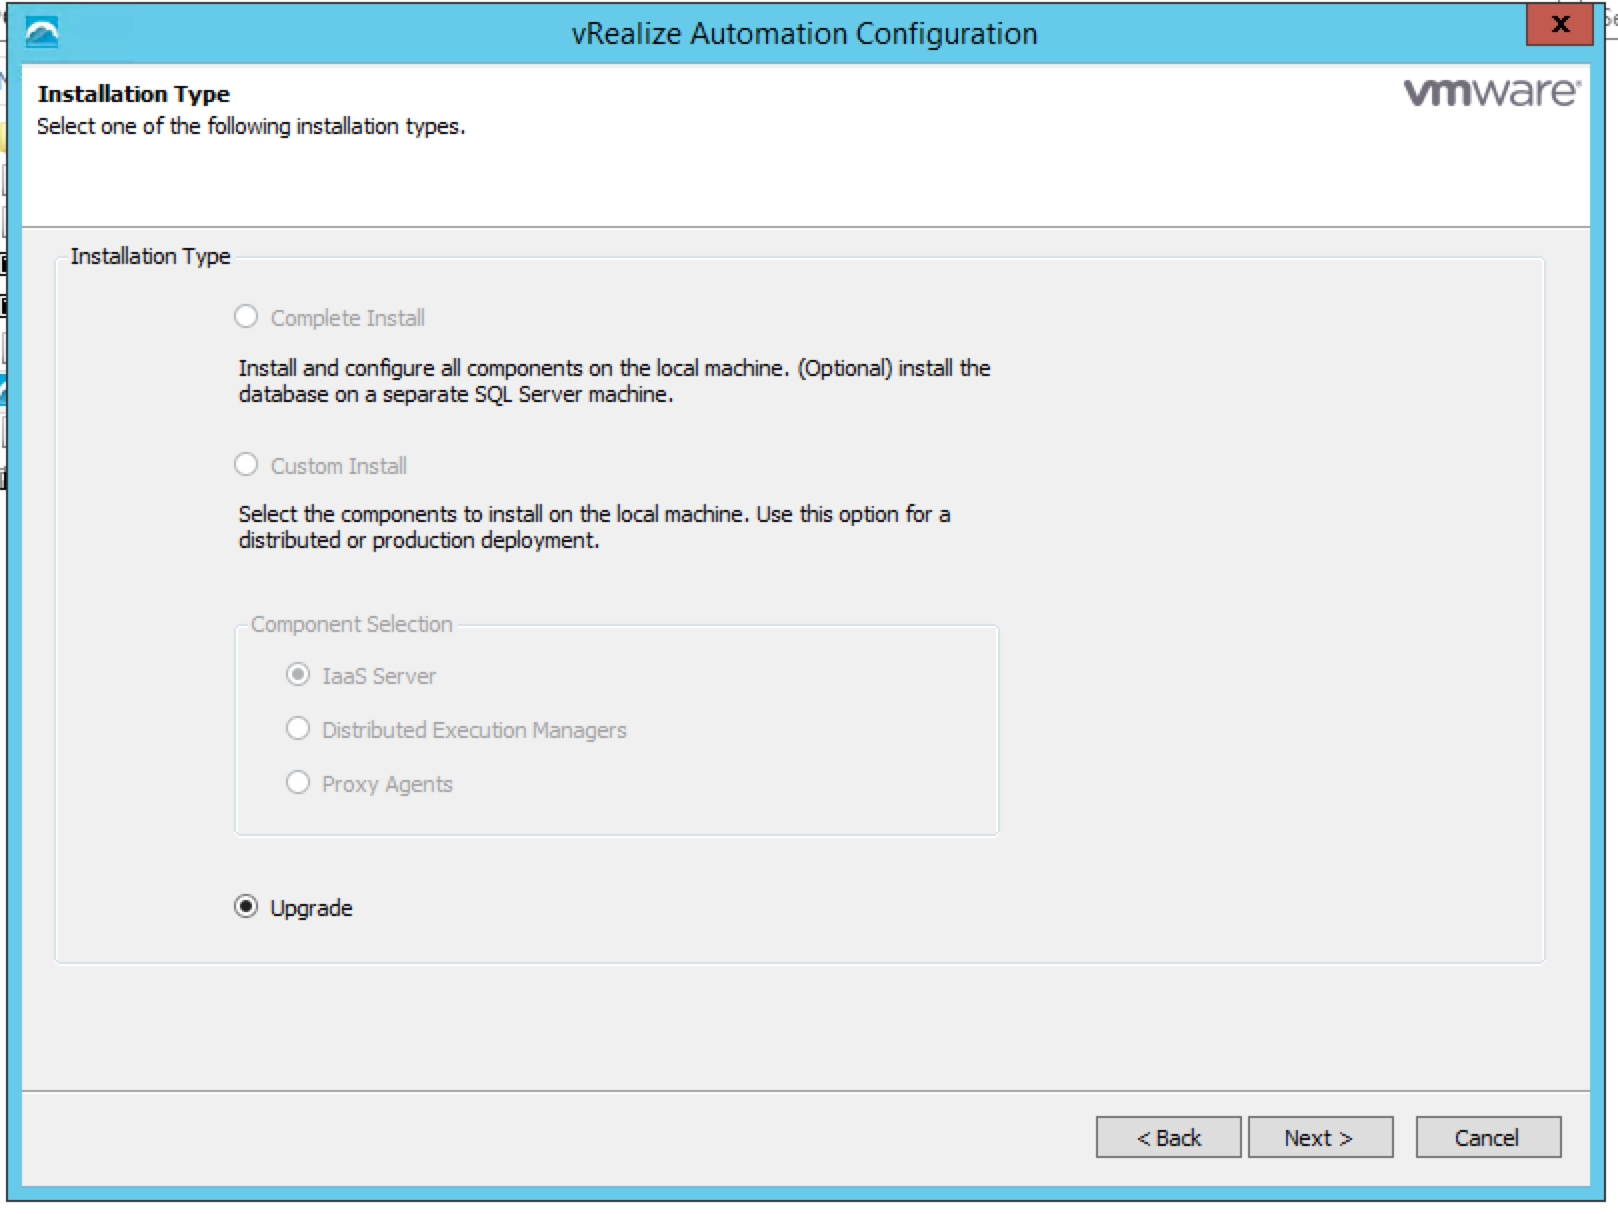
vRA 7.0.1 IaaS Installation – 4
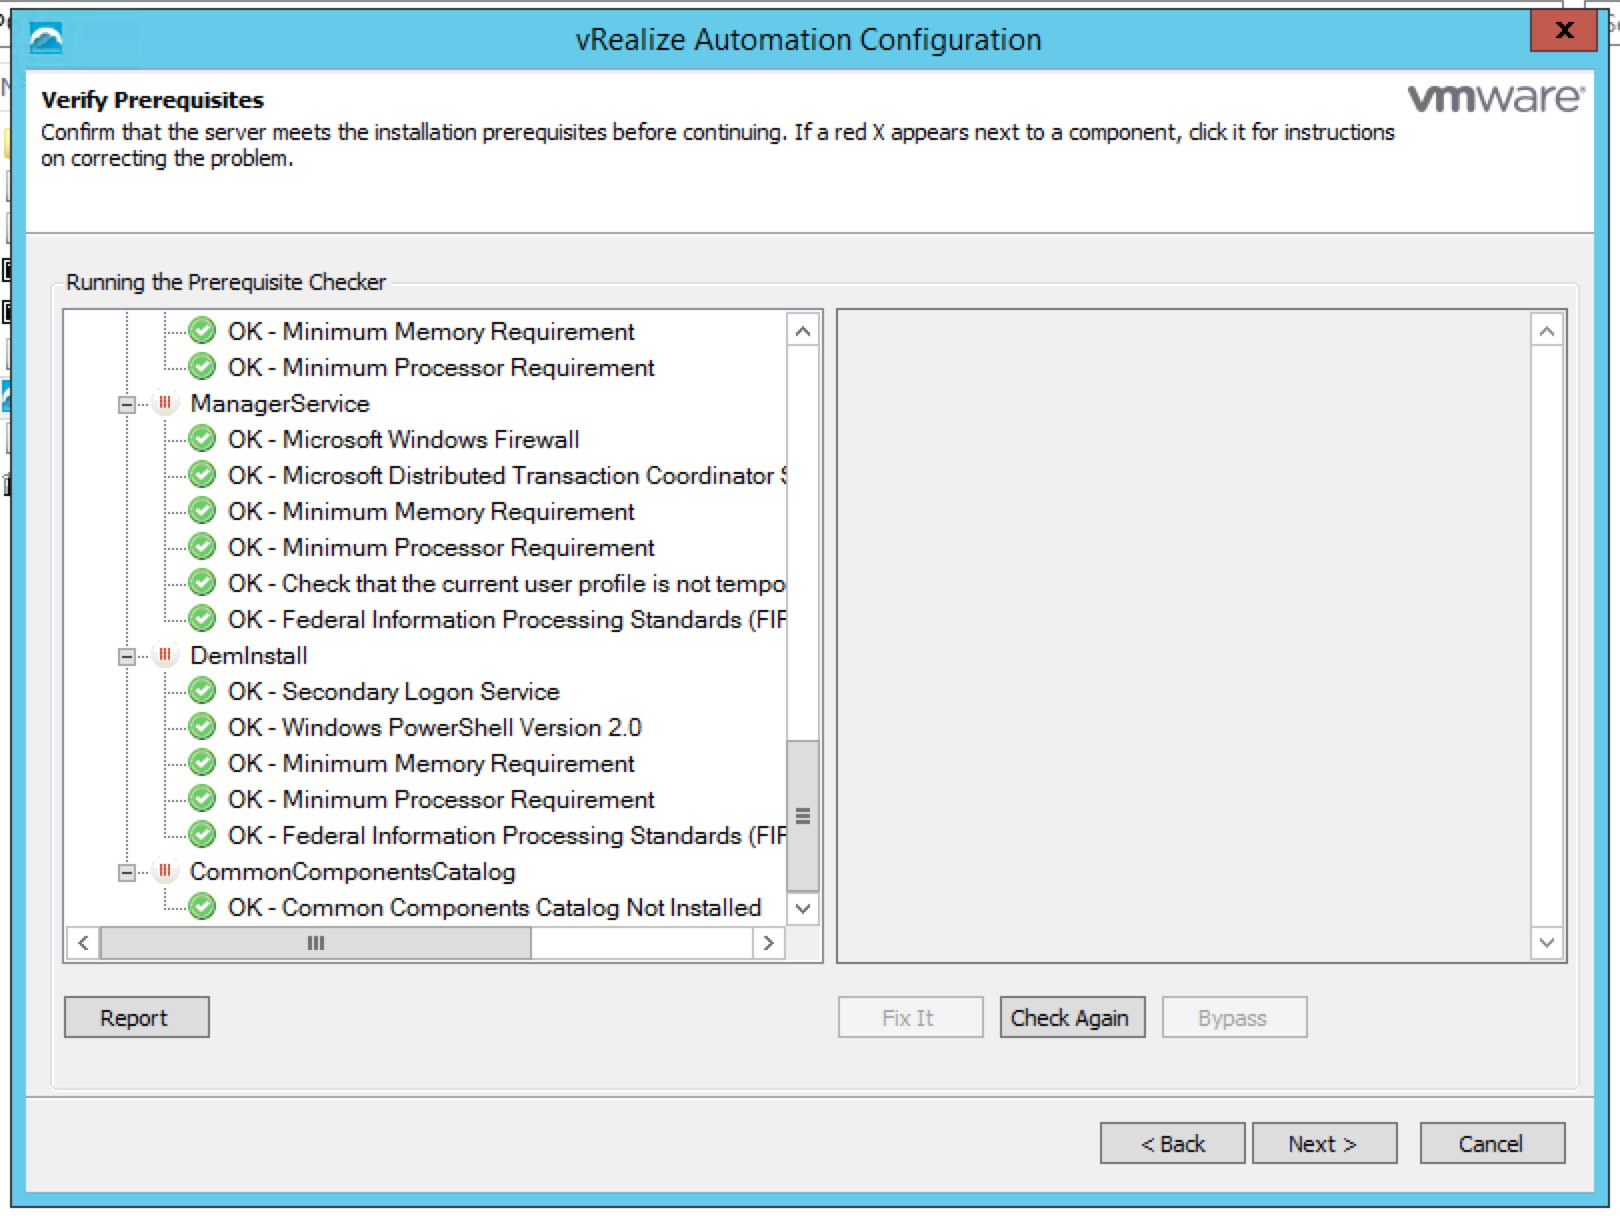
vRA 7.0.1 IaaS Installation – 5
25) Fill in the Blanks.

vRA 7.0.1 IaaS Installation – 6
NOTE: For the SQL Connection. If you are not using SSL, uncheck the option to “Use SSL for Database Connection”; else you will experience the following error.

vRA 7.0.1 IaaS Installation – 7
26) For my lab, I had to remove the SSL connection between the IaaS Server and the SQL Database Server.

vRA 7.0.1 IaaS Installation – 8

vRA 7.0.1 IaaS Installation – 9
vRA 7.0.1 IaaS Installation – 10
vRA 7.0.1 IaaS Installation – 11
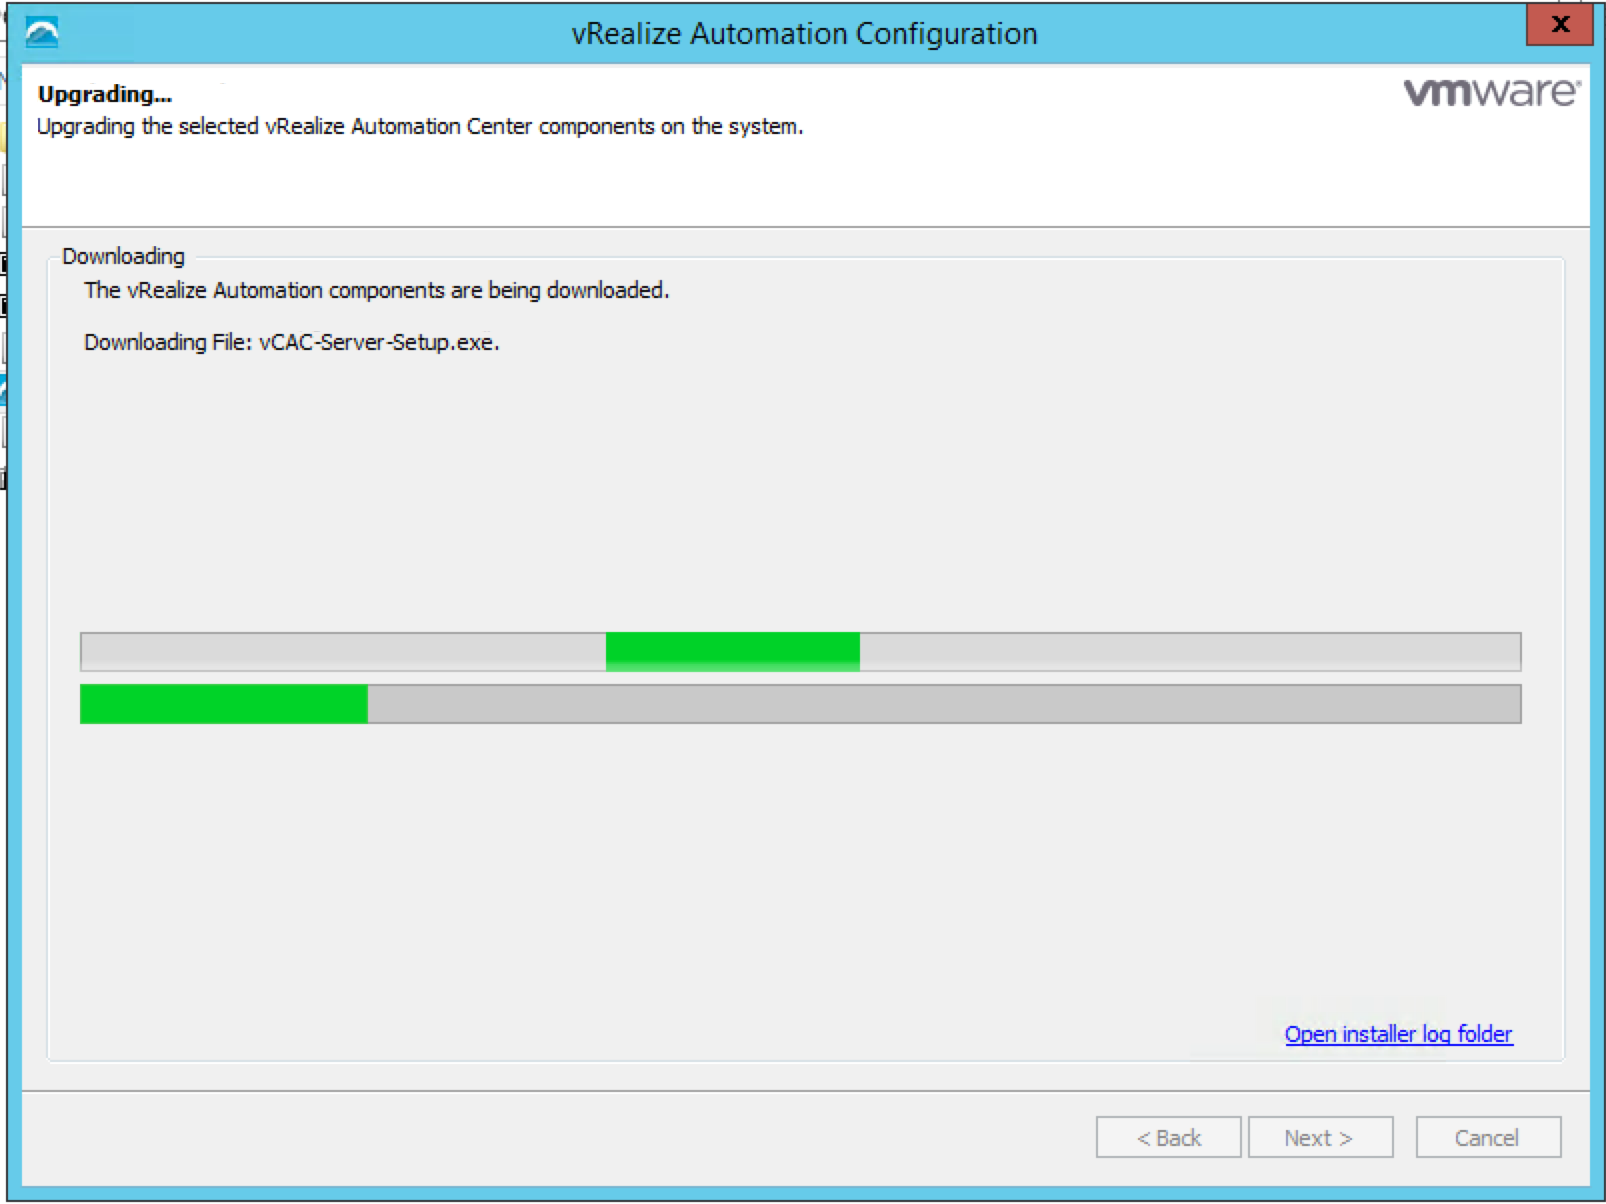
27) The upgrade installation will take some time to complete. I recommend going and grabbing a drink. The process took approx 30 mins for me for it to complete.
vRA 7.0.1 IaaS Installation – 12
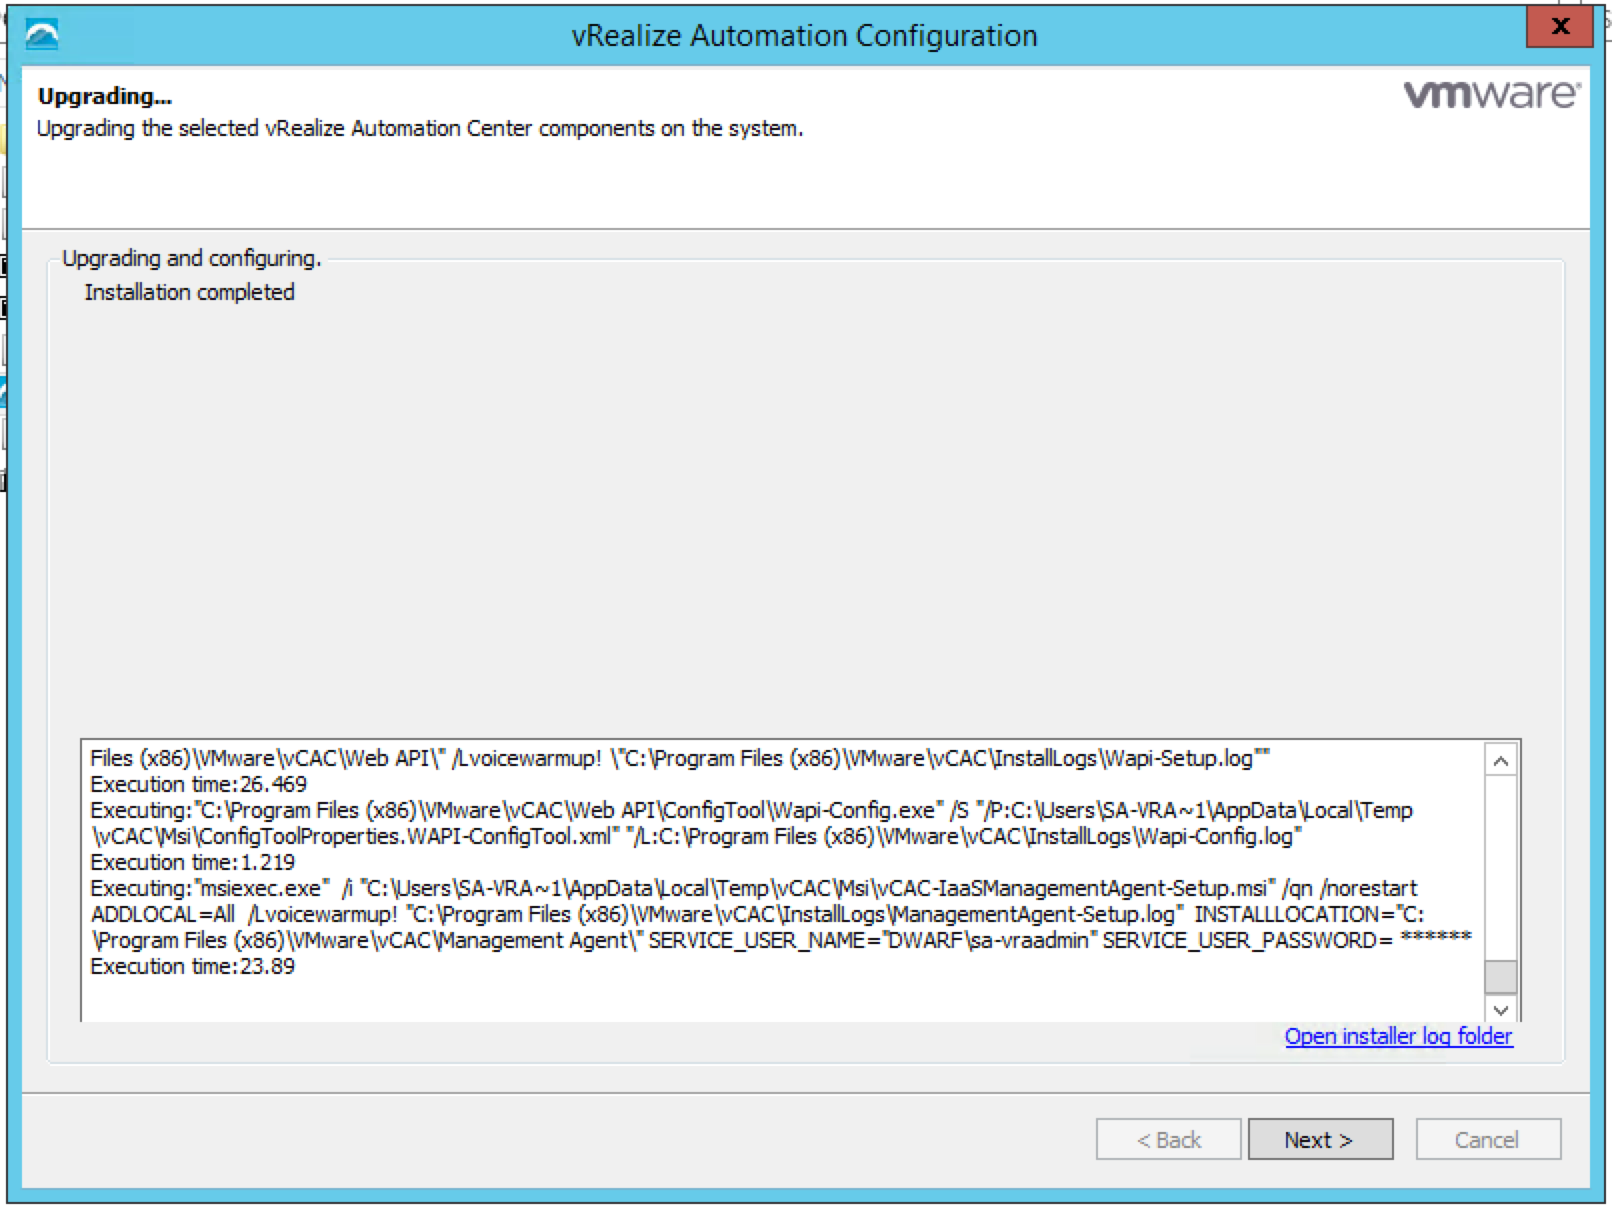
28) The upgrade finishes.
vRA 7.0.1 IaaS Installation – 13
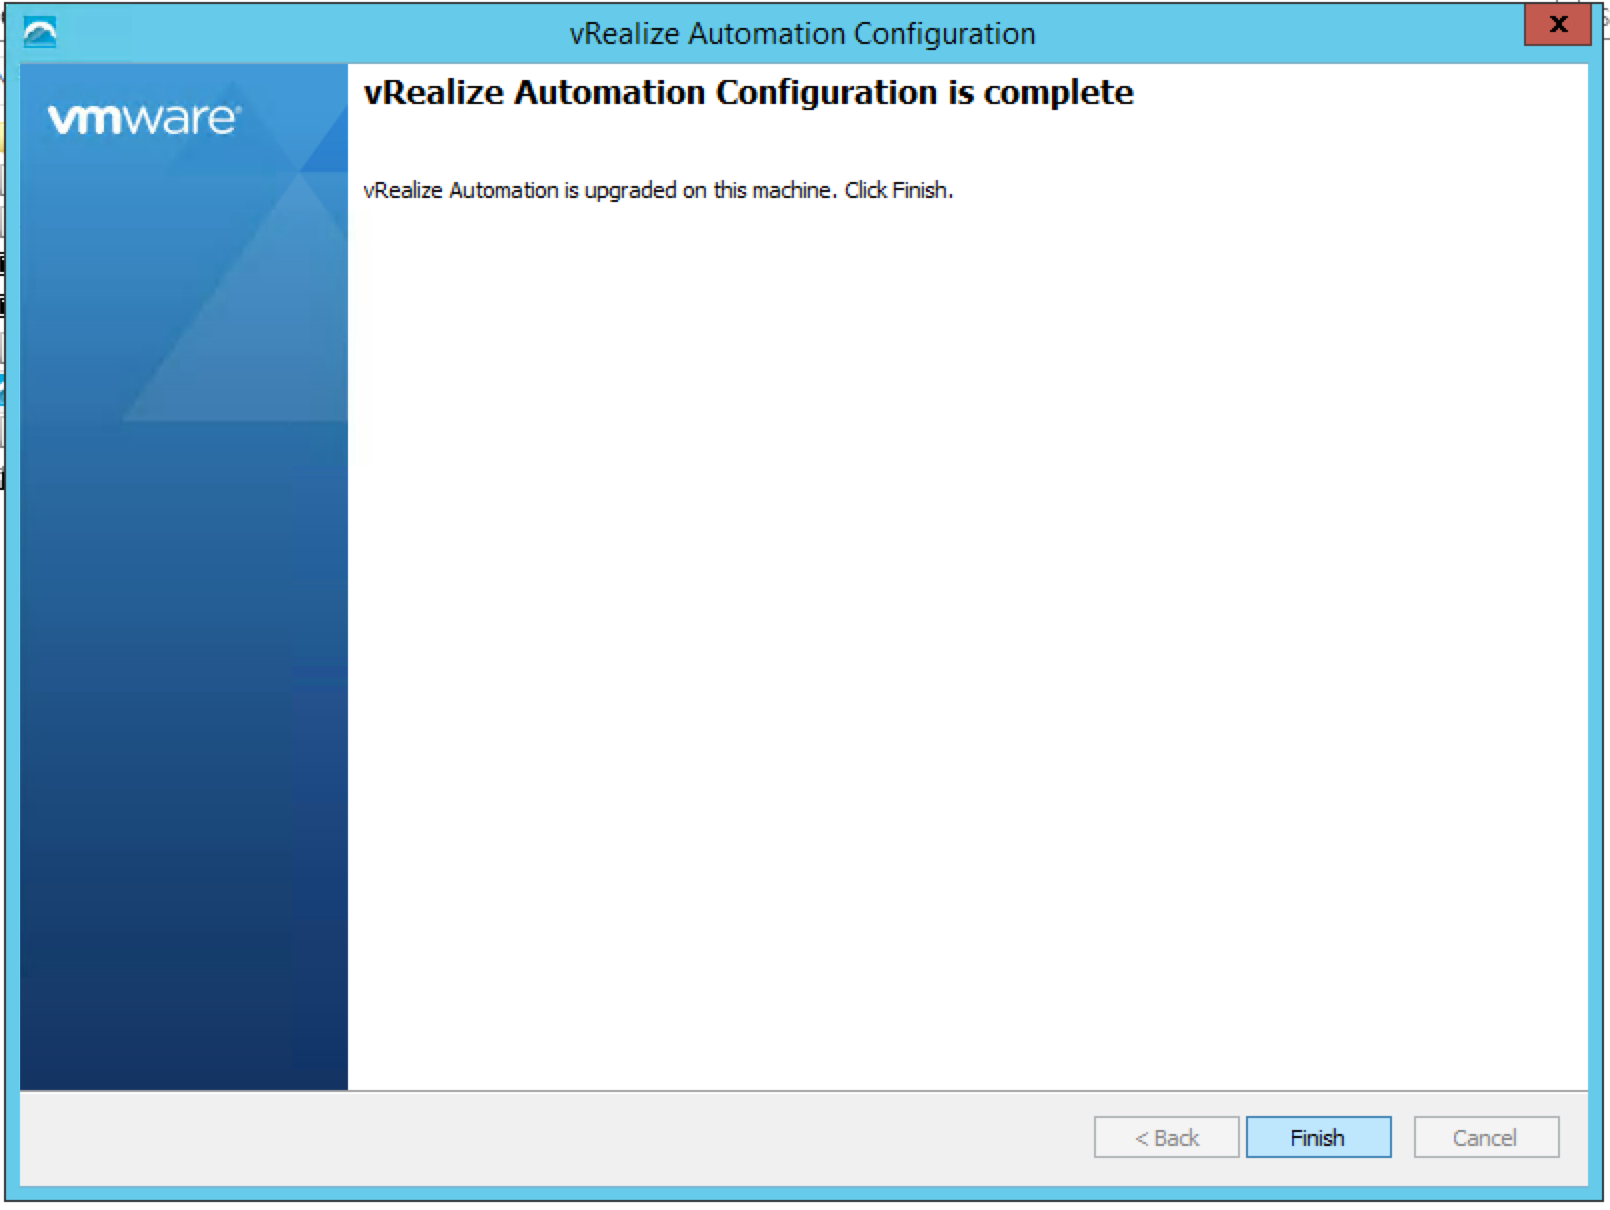
29) Click finish and reboot the IaaS Server.
30) When the server comes back online. Log back in and verify that all vRA services have restarted.
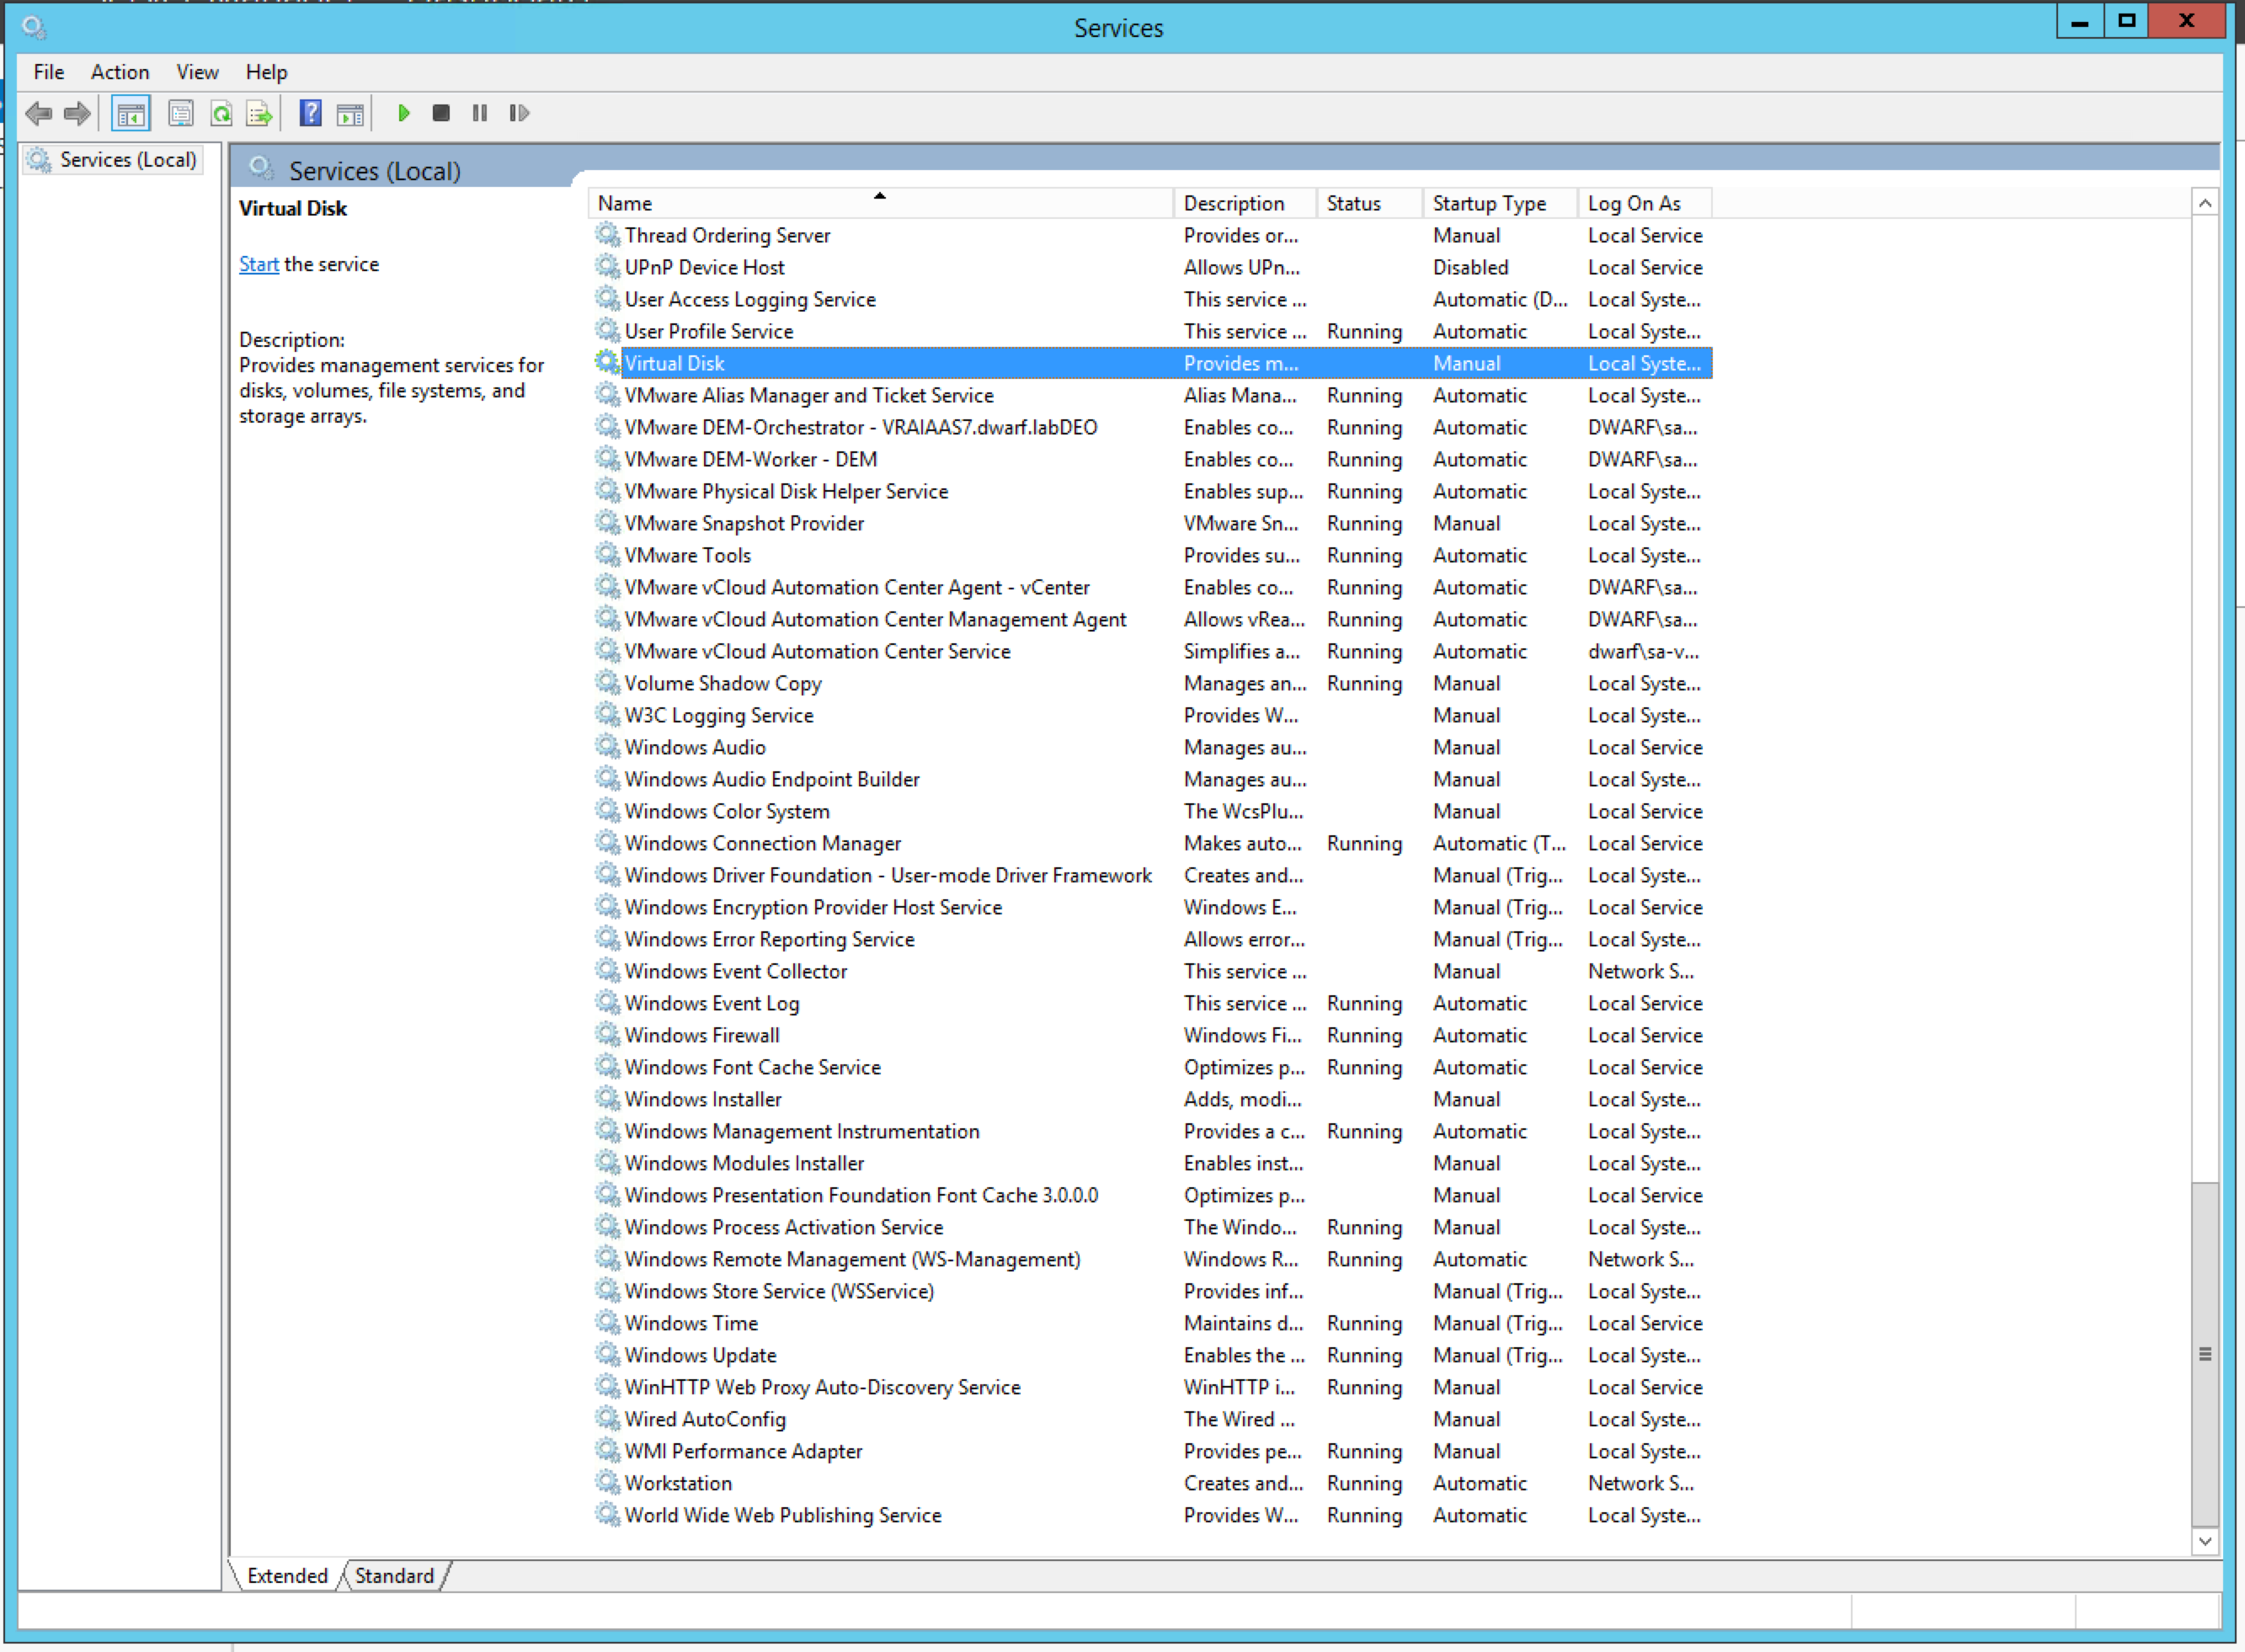
vRA Services
31) Log back into the vRA Cafe Appliance and check all Services are returned to “Registered”.
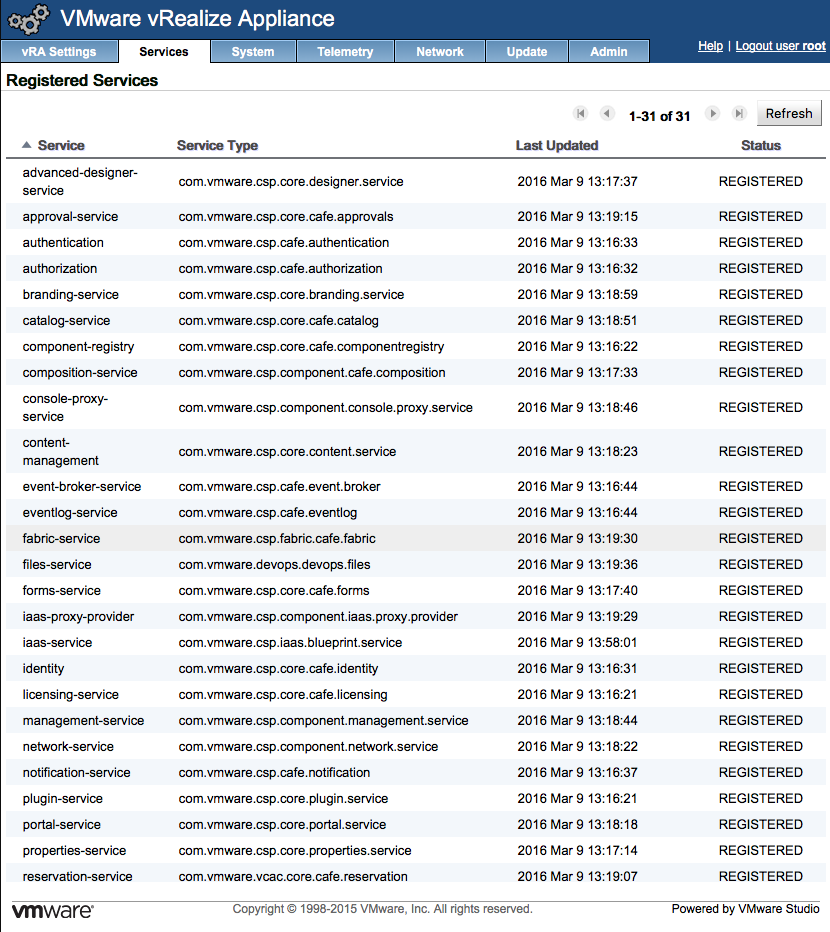
Cafe Services
If everything happened without any issues, then you have successfully upgraded vRA from 7.0 to 7.0.1. Go log into your portal and check it out!
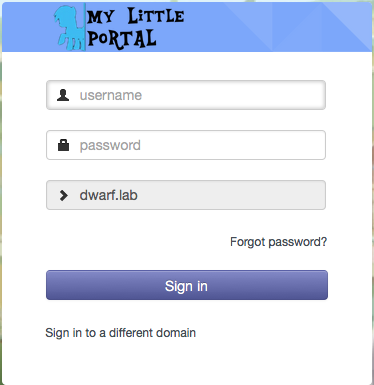
vRA Portal Login
